
Last Updated on: 29th April 2022, 07:30 pm
To install SparkyLinux on a hard/usb drive run desktop’s “SparkyLinux installer” icon.
You can also use text mode installer – instead of GUI:
sudo sparkylinux-installer
1. Target system’s language
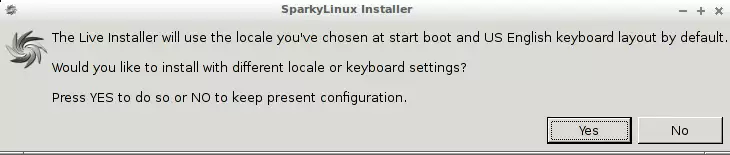
1. Run the installer and click “Yes”.

2. The installer will install the system with locales you’ve chosen at start boot and US English keyboard layout. If you’d like to change it click “Yes”.
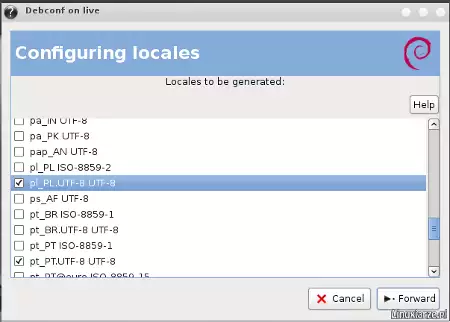
3. Mark your language and click “Forward”.
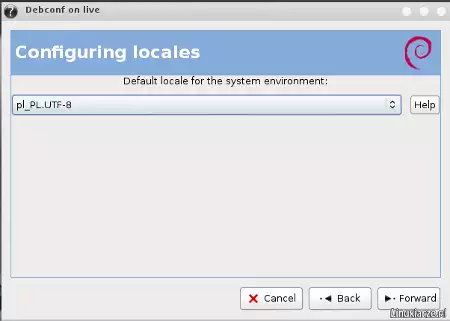
4. Choose your language if different than English.
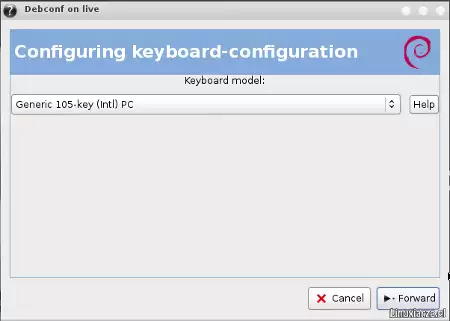
5. Choose keyboard model.
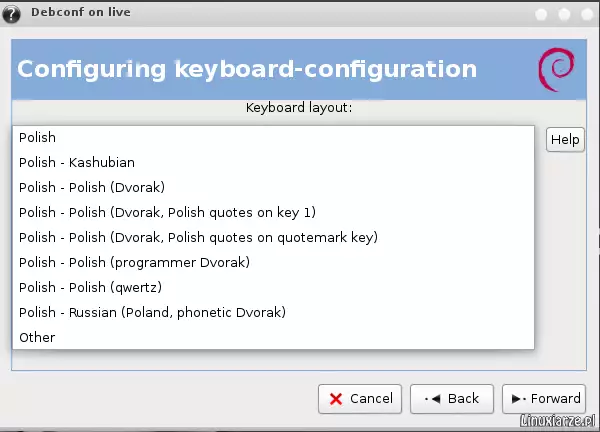
6. Change keyboard layout if different than English.

7. Choose your keyboard.
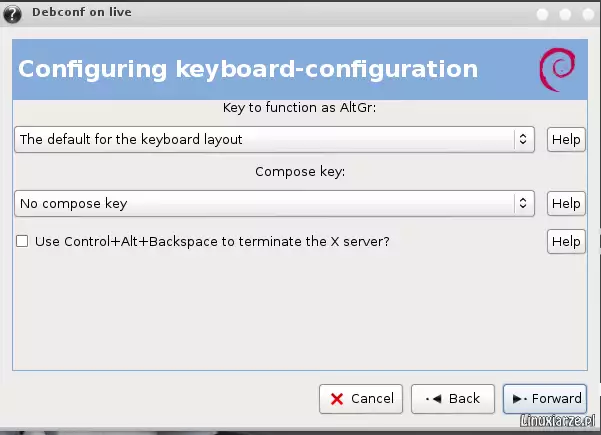
8. At this step choose default settings.
2. Partitions
9. Make preperation for new partitions for SparkyLinux.

10. Choose a disk (if you have more than one) for the new system installation.

11. GParted disk partitioner will run itself so create at least 2 partitions (maximum 3) :
– root partition “/” – minimum size 5GB (10 GB recommended) – “Eris edition”
– root partition “/” – minimum size 20GB (30 GB recommended) – “GameOver edition”
– SWAP partition – minimum size 256MB (512MB recommended)
– additionally you can create “home” partition for your personal files

12. After closing down the GParted window, choose the SWAP partition.

13. Choose the “root” partition for system files.

14. Choose file system for the “root partition” (ext4 recommended). It will be formatted.

15. Choose a partition for your “home” folder if you have one.

16. Choose file system for the “home” folder (will be formatted). If you would like to share your existing “home” partition with your other Linux account, choose “do not format”. The partition will be not formatted then.

3. Users and passwords
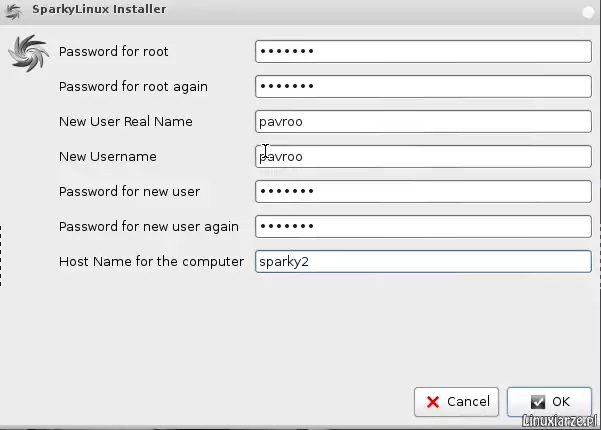
17. Now:
– type your system administrator (root) password twice
– type your real name
– type your new user nick name
– type your password twice
– type your host name
4. Bootloader
18. Choose a place for GRUB bootloader installation (MBR recommended).

5. Timezone
19. System clock settings. To set up your time zone choose “Yes”.


6. Installation
20. If all the information is correct, click “Yes” to start installation process.

21. First the newly created partitions will be formatted.

22. Now, all system files will be copied into the partitions.

23. Next, the installer will do post-installation work.

24. As the last step, the GRUB bootloader will be installed.

25. The installation process ended, reboot your computer now.

You should install a few extra language packages via Synaptic (or apt-get).
For Polish for example install:
– wpolish
– myspell-pl
– aspell-pl
– iceweasel-l10n-pl
– icedove-l10n-pl
– libreoffice-l10n-pl
For your language, replace “pl” for your country code.
Have a nice work and fun with SparkyLinux !
Hi all,
just having a an issue, not sure which version i should download. I’m wanting SparkyLinux 3.6 LXDE, Am I wanting the i586 non-pae or x86_64?
It depend on what you want.
If 32 bit system – get i586
If 64 bit system – get x86_64
Just installed 3.5.1 E19 (32 BIT) Thanks so much for this detailed instruction set, I would have given up without it. God Bless
Now if I can just get the system to stop asking for keyring password after cold boot !
the live disk works well!
to install one must be a partitioning expert it seems! i keep run into dead end screen that forces me to quit installation.
@Ayush Joshi
iam thinking no. because there is no EFI Folder (and it isnt working on my laptop…)
Same problem with 64-Bit: No recognition of swap or root partition.
HMMM
I’m single with this Problem
Otto