Last Updated on: 29th April 2022, 01:52 pm
Custom ISO Builder Part 1 – Rebuilding
Custom ISO Builder Part 2 – Building a new remix
The second part of the guide will show you how to customize an existing iso image and build it’s remix/fork/etc.
To do that I will use sio image of SparkyLinux 3.4 Base Edition 64 bit.
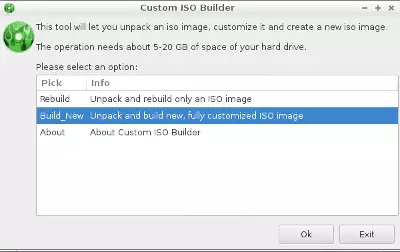
1. Choose the option “Build_new” to start it.
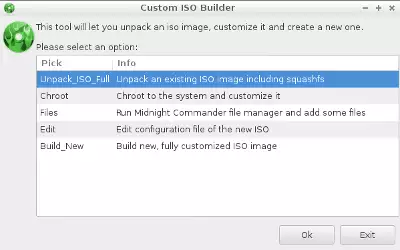
2. Next “Unpack_ISO_Full” to unpack an iso image.
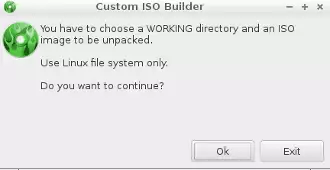
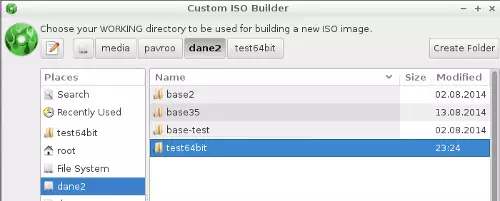
3. Now you have to choose a directory which will be used for all the operations.
Use only Linux file system for that.
Do remember to choose the same directory for every next operation.
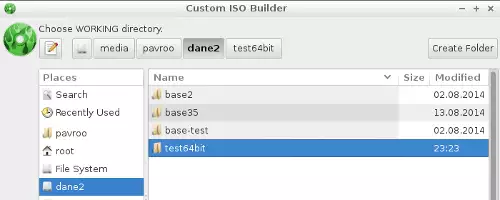
4. You can create a new folder.
Remember to use separated subfolders for every next iso image you’d like to work with.
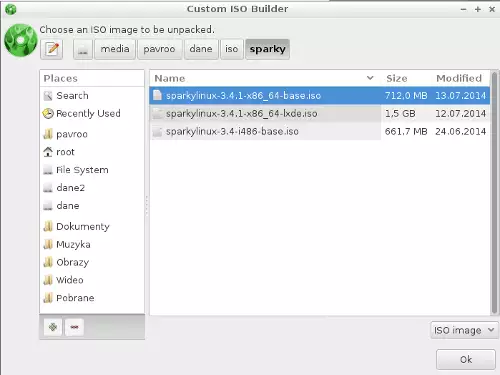
5. Choose an iso image to be unpacked.
6. Wait until the iso image will be unpacked.
Depends on your computer power and the iso image size, the process can take between 10 – 60 seconds.
7. After the unpacking process will be finished you will be redirected to the main menu.
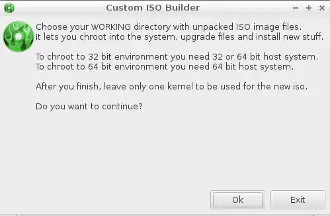
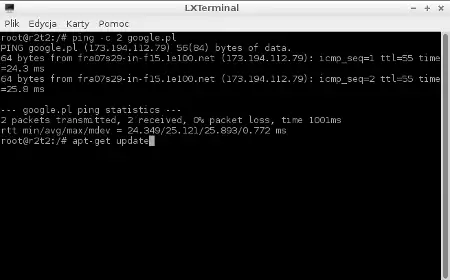
Choosing “Chroot” option you can chroot to the system and make your changes.
To chroot to the 32 bit system you need 32 or 64 bit host system.
To chroot to the 64 bit system you need 64 bit host system.
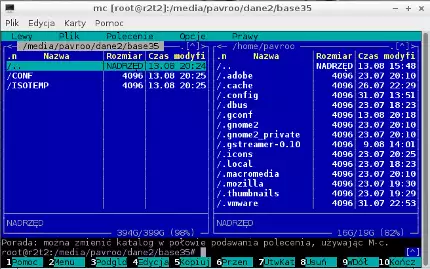
8. Now you can edit all the files located on the iso image using Midnight Commander file manager.
Remember to choose the same directory you created/chosen on the beginning for every operation.
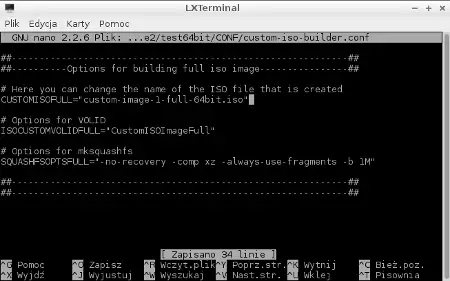
9. The next function lets you edit three options of the new iso image:
– CUSTOMISOFULL=”your-new-name.iso”
– ISOCUSTOMVOLIDFULL=”iso-volid” for example: “My ISO Image”
– SQUASHFSOPTSFULL=”additional options for squashfs”
10. After finishing all the preparations you can start building the new iso image using “Build_New” option.
Remember to choose the same directory you created/chosen on the beginning for the operation.
If everything went well, your new, remastered iso image and md5sum file will be stored in your working directory.
This function lets you rebuild an iso image and build new, customized iso image.
It lets make your own version of the system, install it on an another machine or share it with your friends.
Custom ISO Builder can cooperate with all SparkyLinux iso images and some Live images based on Debian.
If you have any questions or suggestions, simply join our forums.




Okay!
What are the additional options for squashfs? Does it have default options too?
It’s not built, but uses a part of it’s code.
It’s not compatible with Ubuntu iso images now, but it’s on my to do list.
Very interesting! I believe this Custom Iso Builder is built on Remastersys. Can this be used to make a custom iso from a Ubuntu based distro? Would you be making a ppa? What are the additional options for squashfs?