Last Updated on: 19th September 2023, 10:31 pm
SparkyLinux is available as a DVD iso file, so it can’t be run on very old machines which don’t have:
– optical DVD drive
– BIOS option for booting systems from USB drive
But there is a simple solution, if your computer has:
– optical CD or floppy drive
– USB port
The instruction can be used for most Linux distributions.
1. Copy SparkyLinux iso image using “Unetbootin” or “dd” command on USB flash drive:
– 2GB USB pendrive for “Eris” edition
– 4GB USB pendrive for “GameOver” edition
2a. Download and burn Plop Linux “Standard version” iso image on blank CD.
or
2b. Download (from the project page) and extract “plpbt-version.zip” archive.
Burn the “plpbt.iso” image which you can find inside the new created folder “plpbt”.
or
2c. Download and extract “plpbt-version.zip” archive.
On Linux hosts copy “plpbt.img” image on floppy disk using “dd” command:
dd if=plpbt.img of=/dev/fd0
On MS Windows hosts copy “plpbt.img” image on floppy disk using WinImage or RawWriteWin.
3. Reboot your machine, put USB SparkyLinux disk in the USB port, put CD/floppy disk in (with Plop).
Go to BIOS, choose CD/Floppy disk as the first booting option.
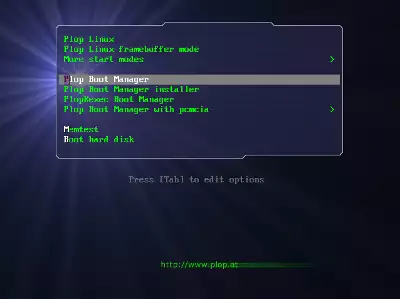
4. The Plop will start as first, choose “Plop Boot Manager”.
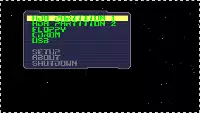
5. Choose a drive with SparkyLinux (USB).
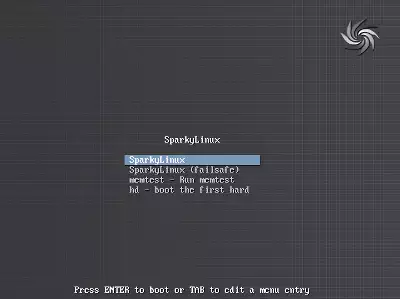
6. It will start SparkyLinux.
Now you can test Live system and install SparkyLinux on a hard drive.


